Green-screen lighting: why an even screen is only half the job
An evenly lit screen makes the background easier to remove. To make the replacement scene believable, the subject lighting needs to fit too. Here’s how to balance the two and test the shot.
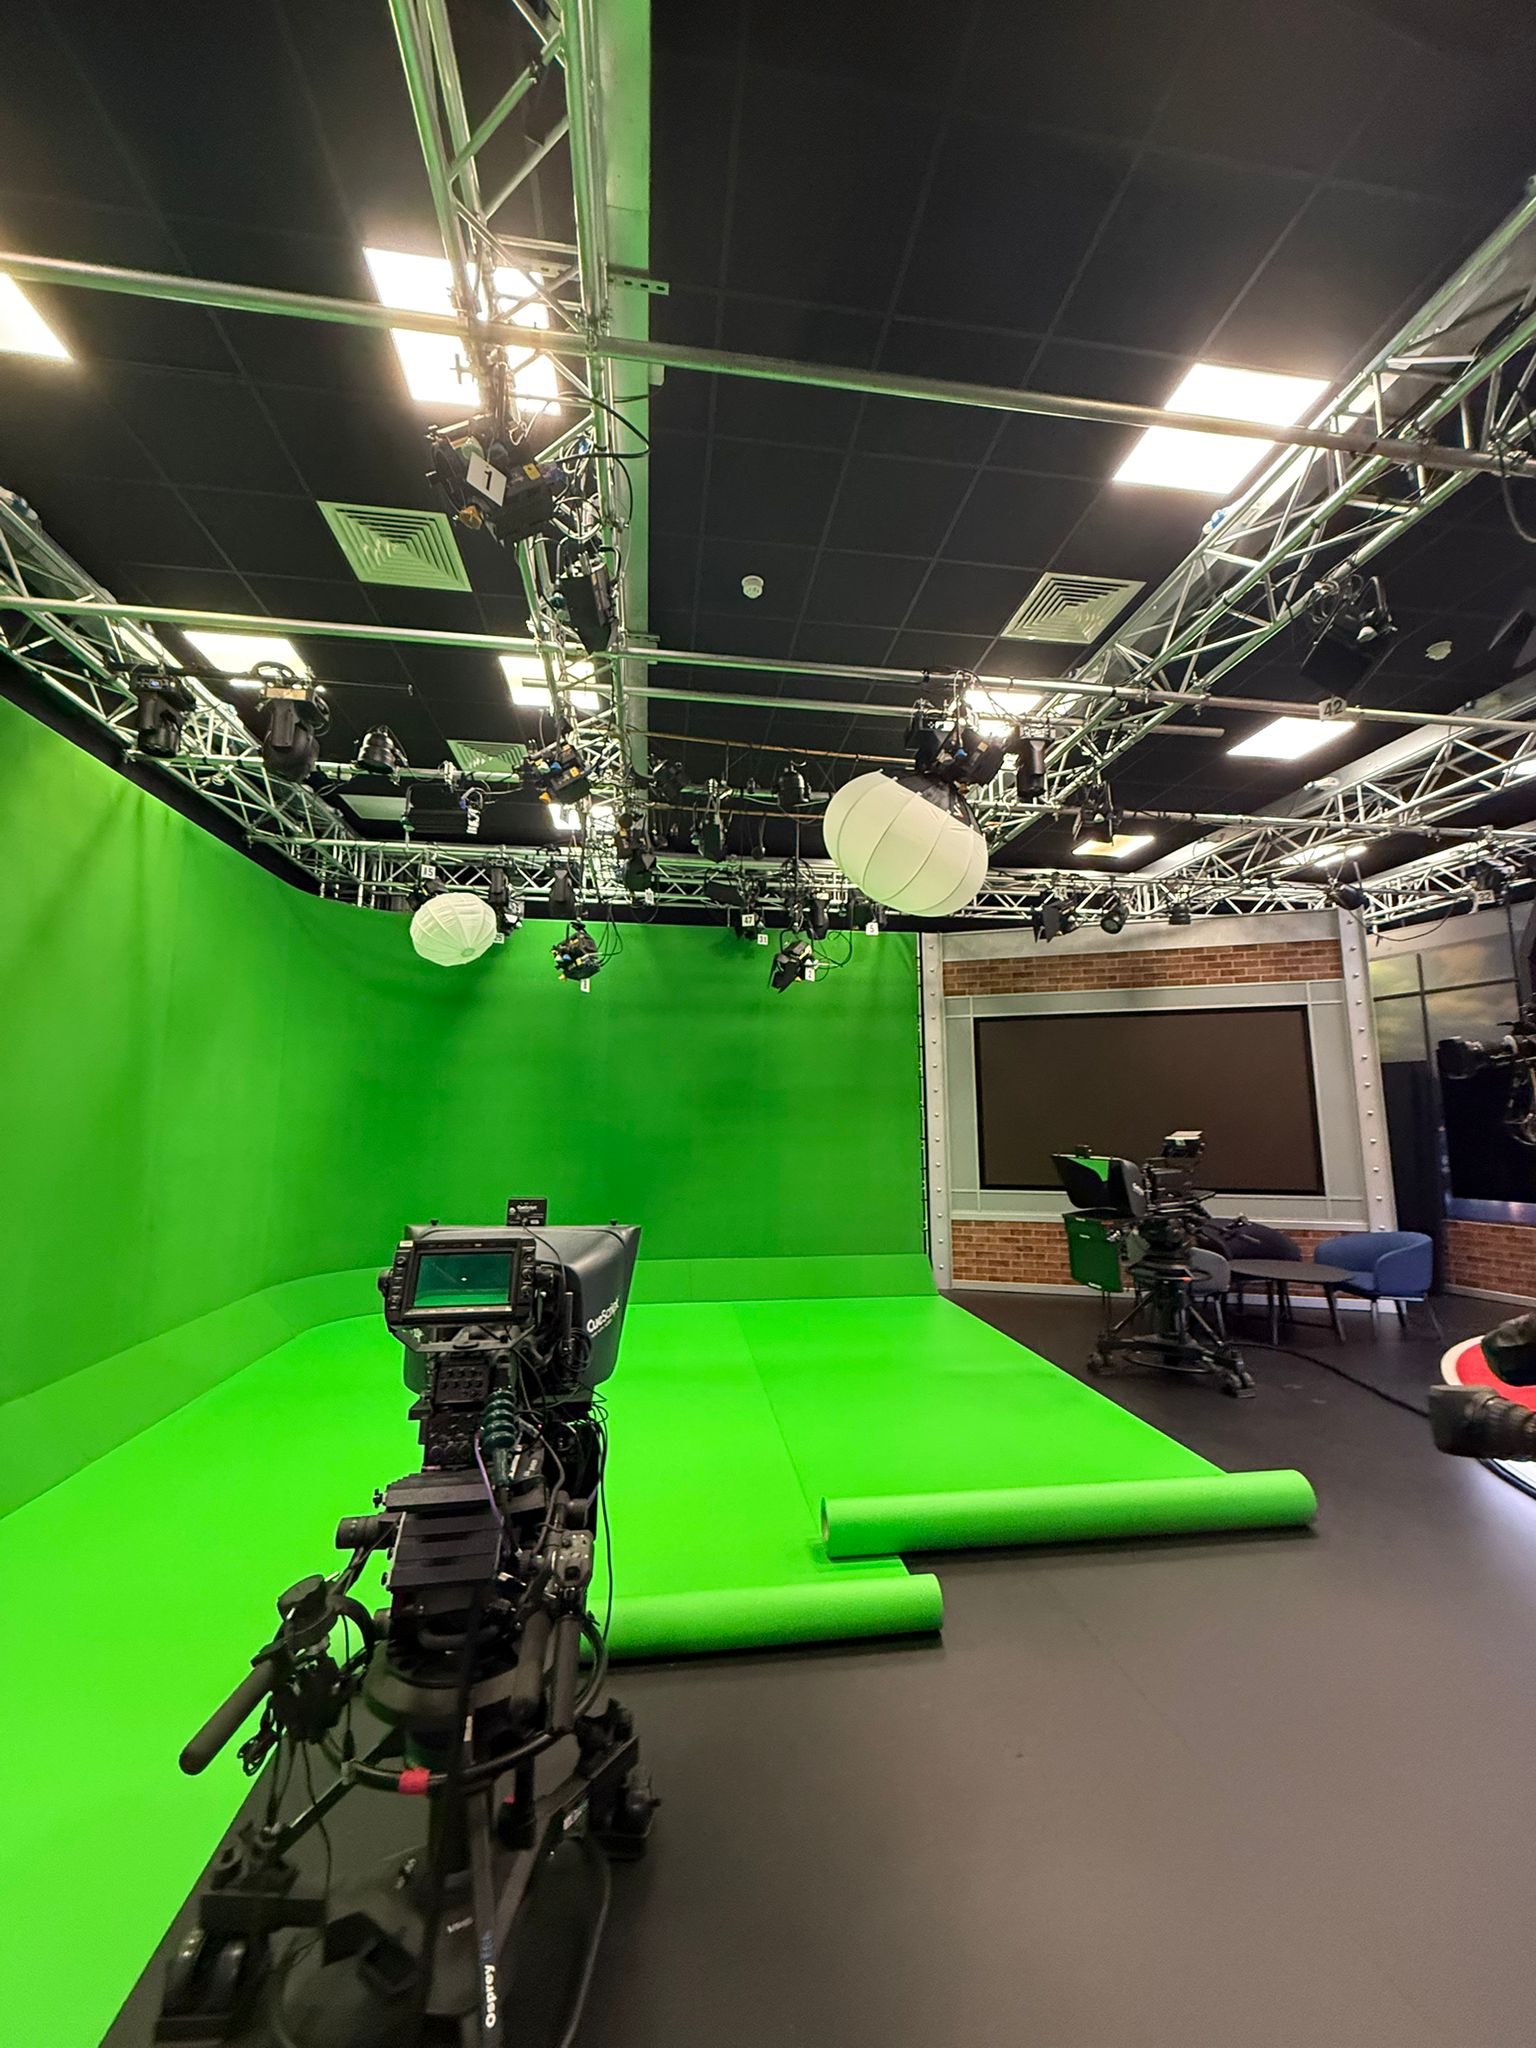
Green-screen lighting has two jobs: make the background easy to remove, and make the person in front of it belong in the scene that replaces it. Removing the green is called keying; combining the subject with a new background creates a composite. An evenly lit screen helps with the key, but it cannot fix a face lit from the wrong direction or a camera angle that does not match the new scene.
At a glance
What makes green-screen lighting work?
Light the screen and subject separately. Keep colour and brightness consistent across the green area needed for the shot, then light the subject to suit the replacement scene. Record a short test with the actual wardrobe and movement, and check it over the intended background before filming the full take.
Even is not the same as bright
Aim for a consistent green background in the camera image, without hot spots, dark patches or shadows in the area you need to remove. Uneven lighting gives the keying software a wider range of colours and brightness levels to separate from the subject. Large, soft sources can help create that even coverage, as Litepanels’ lighting guidance explains.
More light is not necessarily better. Judge the screen’s exposure through the camera rather than by eye alone. A waveform monitor—a display of brightness levels in the image—can help you check for uneven illumination, as Adobe recommends. It cannot tell you on its own whether hair, clothing and moving edges will key cleanly.
There is no exposure setting to copy for every shoot. The screen material, camera and image processing all affect the result. ARRI’s visual effects FAQ gives guidance for its camera systems and explains that image noise can affect a key even when it is not obvious to the eye. Use advice appropriate to the camera you are recording with, then check the recorded footage.
Light the screen and subject separately
The screen needs consistency; the subject needs shape and lighting that fits the scene. Trying to light both with the same broad wash can leave a patchy background and a flat-looking face. Separate control gives you room to adjust one without depending on it to light the other.
There is no mandatory order for switching the lights on. Start with the subject’s position and the look you want, then build and balance the lighting. Check the combined image: a subject light may cast a shadow on the screen, while screen light may reach the subject’s shoulders or face. If either moves, check again.
Leave space between the subject and screen where the shot allows it. Separation helps reduce reflected green light and gives you more freedom to manage shadows, but the useful distance depends on framing and movement. Adobe recommends keeping the two apart so the subject can be lit for the replacement background, not the green wall.
Light for the background you intend to use
Look at the proposed background alongside the camera image. Where is the main light coming from: a window, direct sunlight or a visible lamp? Is it hard or soft, warm or cool? Let that reference guide the direction, softness and colour of the subject’s light, while keeping the green screen evenly lit.
A face brightly lit from camera right is hard to reconcile with strong sunlight coming from camera left in the background. A warm glow needs a reason in the final scene too. In his Litepanels tutorial, cinematographer Garrett Sammons shows how he lights subjects for specific replacement environments, including fire and underwater scenes.
Lighting cannot fix a perspective mismatch. Camera height, viewing angle and the subject’s apparent scale also need to make sense against the background. What Make Art’s filming notes advise matching camera height and perspective to the planned composite. Even a clean cut-out can look misplaced if it appears to have been filmed from a different position.
A sharp outline does not solve spill
Green spill is reflected green light that colours the subject. You may see it in skin, hair, pale clothing or reflective props, and removing the background does not automatically remove that tint. Try adjusting the subject’s distance from the screen and the light direction. Black flags or fabric can also reduce unwanted reflections; cover unused green areas only where the covering can stay out of shot. Sammons’ lighting examples use negative fill—black material that reduces bounced light—to help control spill.
A rim or hair light can help define an edge, but it does not replace spill control. It should also fit the replacement scene. A bright outline with no plausible light source may make the composite less convincing, even if the edge is easy to isolate.
Check wardrobe and props under the shoot lighting. Greenish fabric can overlap the colour being removed, while jewellery, glasses and glossy objects may reflect the screen. Adobe identifies greenish clothing and reflective objects as keying hazards. If an item is essential to the scene, include it in the test rather than assuming it will be fine.
The lighting has to survive movement
A stationary presenter is only the starting point. A turn, raised hand or step can reveal a green reflection, cast a shadow into the keyed area or take part of the subject beyond the screen. Rehearse the real action while watching the camera image.
Watch moving edges, particularly hair and hands. Motion blur can make keying harder, but removing it can make movement look unnatural. What Make Art’s shutter-speed test exercise explores that trade-off. Test representative movement through the recording and compositing workflow you will use, rather than choosing a shutter setting solely because it produces a crisp paused frame.
Illustrative planning example: a presenter in a virtual office
Imagine a waist-up presenter in an office background with a large window on camera left and a gently warm interior. This is a hypothetical example, not a client project. The screen might be evenly lit and easy to remove, but a hard light from camera right and a strong blue rim around both shoulders would conflict with that setting.
Use the office reference to guide the subject lighting: a soft main light from the window side, with contrast and colour judged against the background. Keep screen illumination independently controlled, and check camera height and the presenter’s scale in a temporary composite.
Record a few lines, a turn towards the imagined window and the largest planned hand gesture. If the glasses pick up green during the turn, tackle the reflection. If the gesture casts a shadow into the keyed area, adjust positioning or light direction. You are testing the shot you need, not an easier substitute.
Test the composite, not just the green wall
Before the full take, run a short recorded sample through the planned keying workflow. Use the intended framing, wardrobe, props and movement. Place it over the final background, or a representative reference if that is still being developed.
Inspect both the cut-out edges and the complete image. Look for lost hair or fabric detail, green fringes and reflections or shadows that change during movement. View the final crop at its intended delivery size as well. If you need several framings or crops, check each: one successful view does not cover them all.
You do not need to perfect every post-production setting on set. The aim is to catch visible filming problems while you can still change the setup. When discussing a shoot at Big Wig Studios’ green-screen studio, share the intended background and a representative action. They give a clearer picture of the lighting needed than a request for an evenly lit screen alone.
Put it into practice
The useful takeaways
- An even screen helps the key; subject lighting helps sell the scene.
- Control the two separately and judge exposure through the camera you will use.
- Match light direction, softness and colour to the background, and check perspective too.
- Reduce green spill and test the actual wardrobe, props and movement.
- Check a recorded composite at the intended framing and final crop before the full take.
Sources & further reading
Green Screen Studio
Discuss your green-screen shoot
Share your intended background, framing and action with Big Wig Studios when enquiring about a green-screen shoot in London.