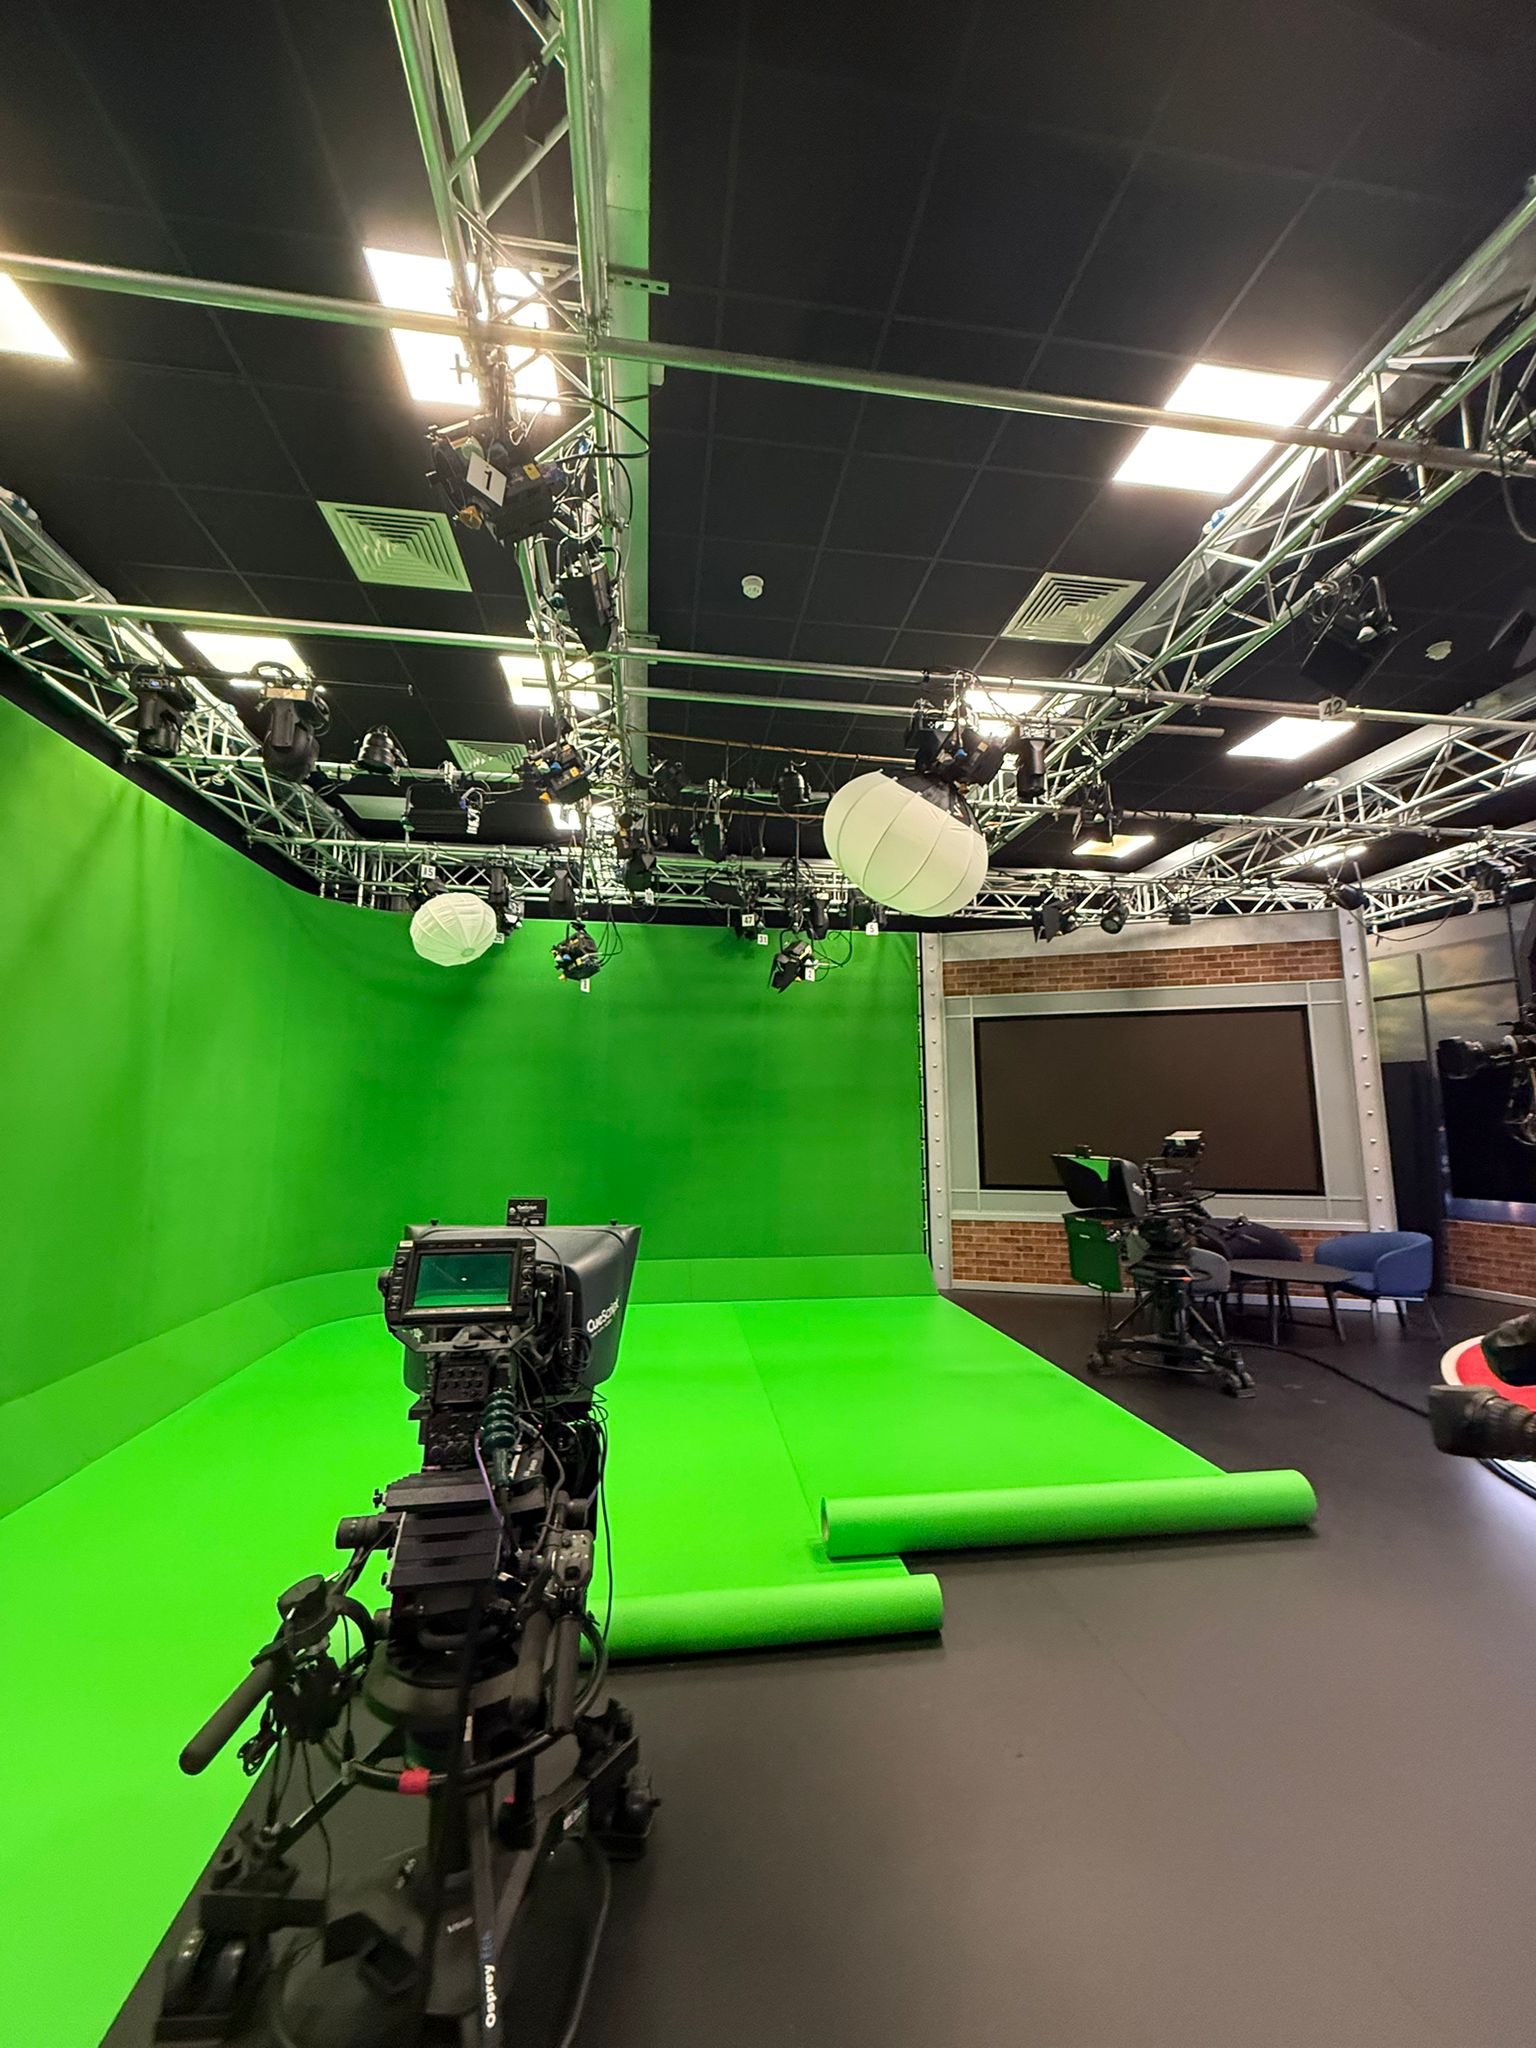
Why a black background can look grey on camera
Black fabric or paint does not guarantee a black image. Find out whether light spill, exposure or the viewing look is lifting the background, and what to test first.
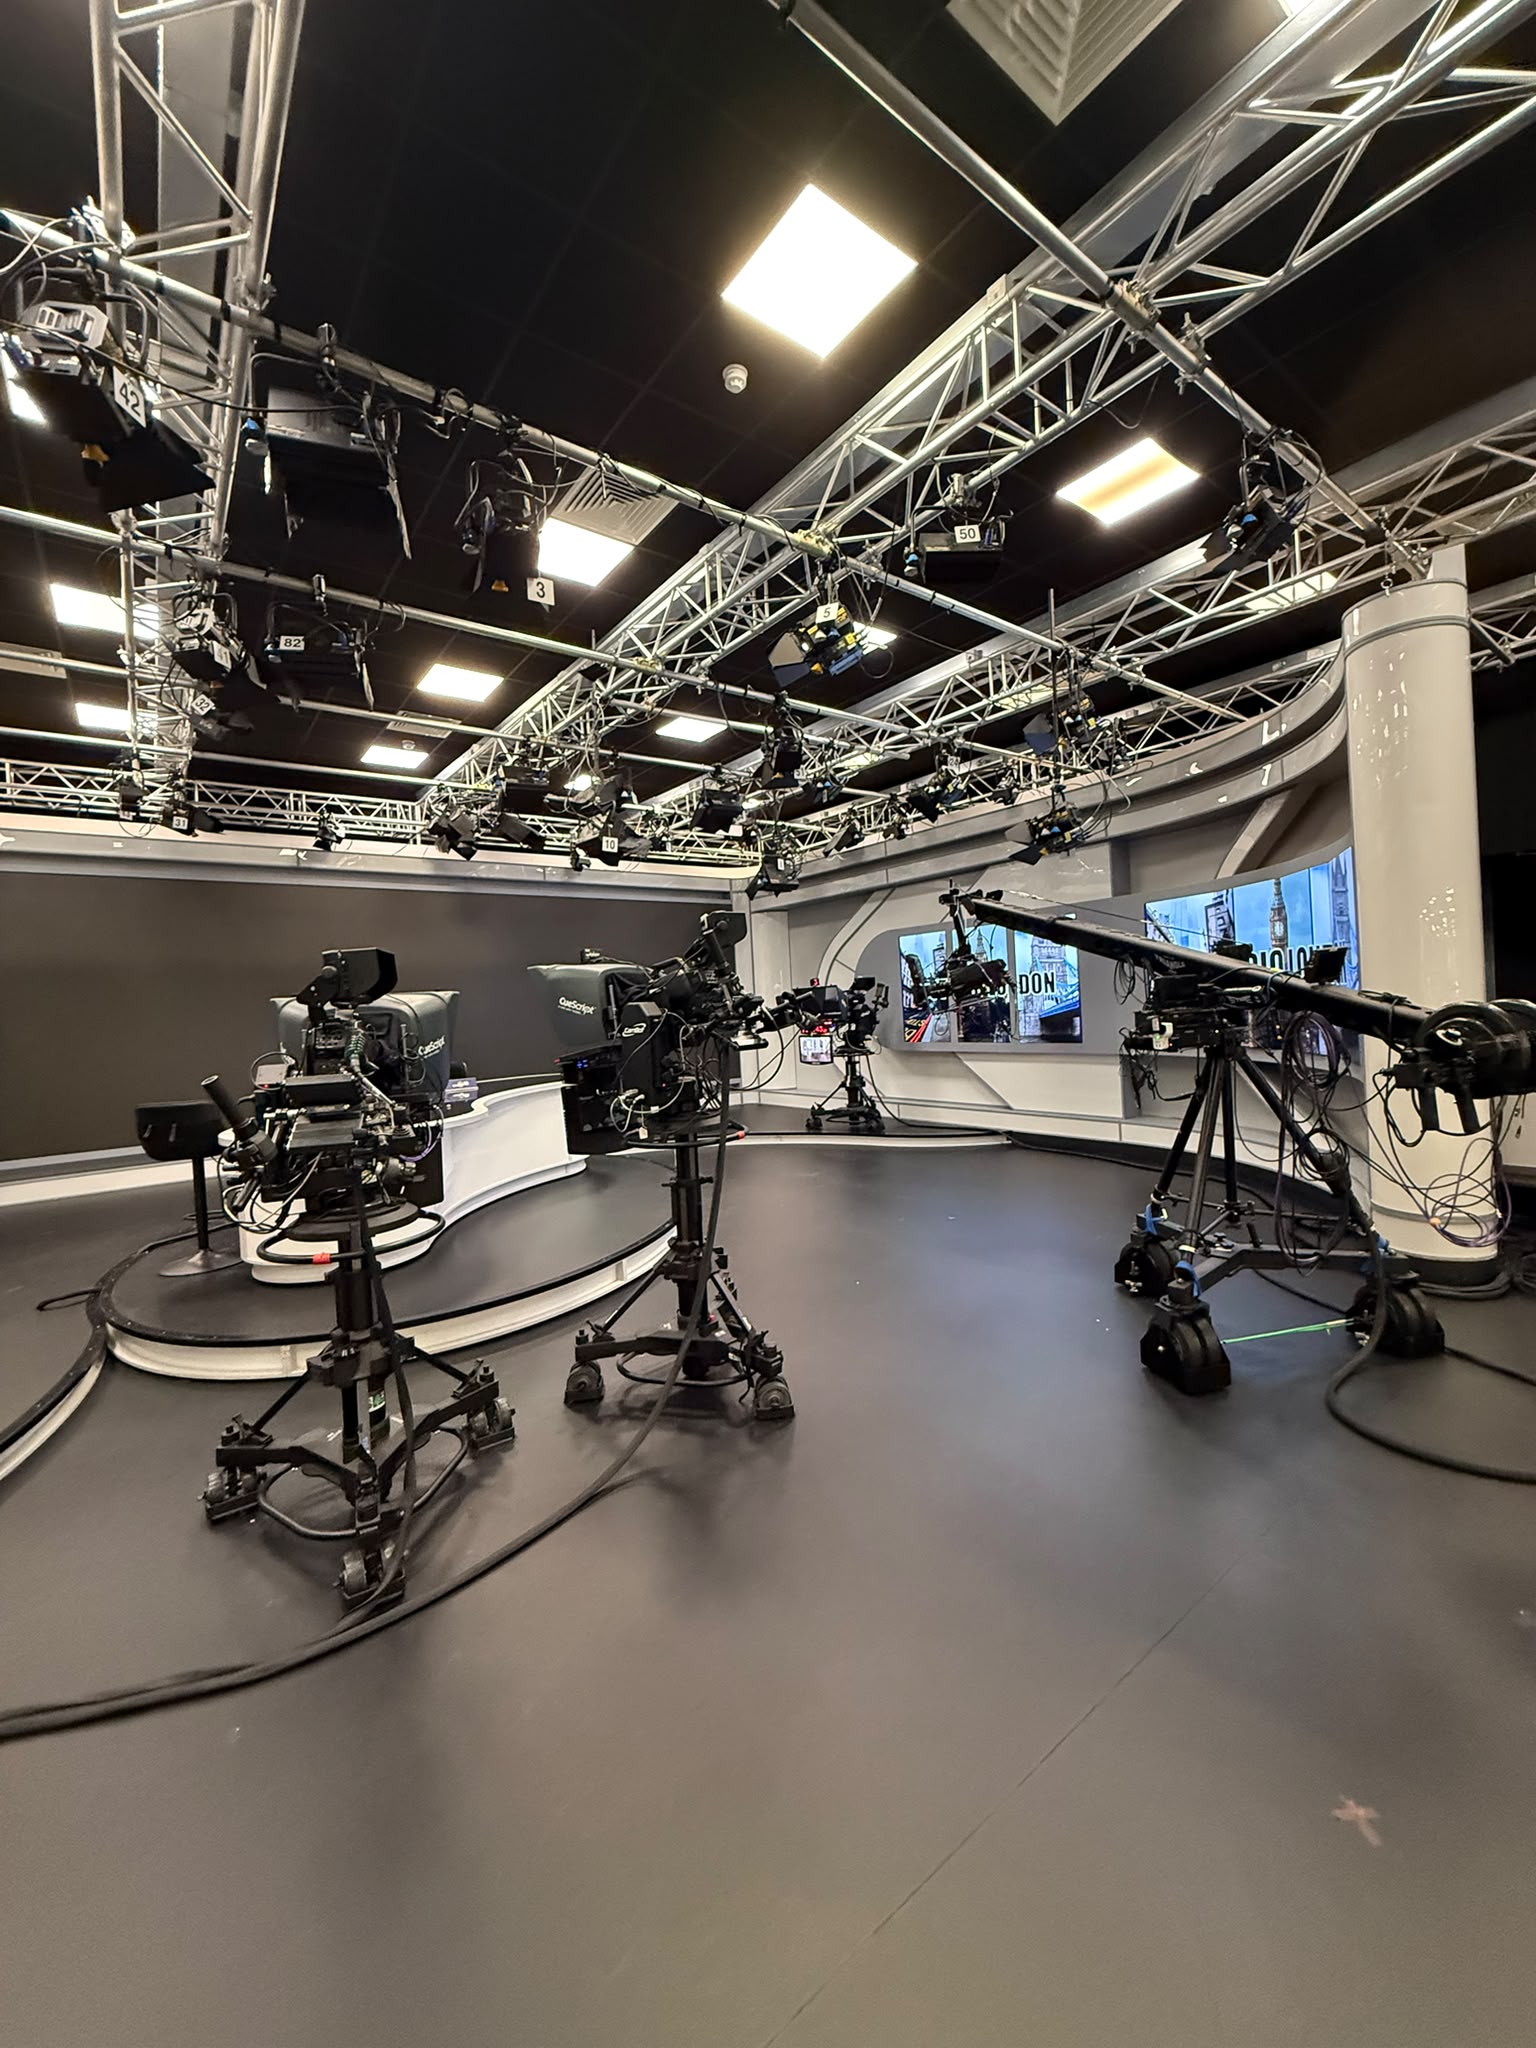
A black backdrop can look convincing to the eye, then appear charcoal on the monitor. A pale patch or the folds in a curtain may suddenly become visible. Black material is only part of the result: the light it reflects, the camera exposure and the way the footage is displayed all affect what you see.
At a glance
Why does black turn grey?
A black background can record as grey when it reflects enough light to become visible. Automatic exposure can brighten a dark frame, while log footage viewed without a display conversion can look washed out. Check the light on the backdrop, the subject's exposure and the viewing setup separately. Each calls for a different fix.
Black material does not guarantee a black image
Black surfaces absorb much of the light falling on them, but they still reflect some. A finish with a sheen can show a highlight; fabric can reveal its folds when light catches them. For a featureless background, pay attention to the surface and the direction of the light.
The background's brightness relative to the subject matters too. A well-lit face against a much darker surface can appear isolated in black. If both receive similar illumination, the backdrop is more likely to stay visible. Darkening the whole frame may hide it, but can also lose the detail you need in a face, costume or product.
A blackout film studio gives you a setting for controlling unwanted ambient light, not a guarantee of black in the finished shot. The lights used for the subject still need to be kept off the background where that is the intended look.
Find the light reaching the backdrop
Spill is light reaching an area you did not intend to illuminate. A broad key light — the main light on the subject — can continue past them onto the backdrop. Fill used to soften facial shadows may do the same. Light can also bounce onto the background from a pale floor, a reflector or a nearby set surface.
Glyn Dewis's black-background explanation describes how an indoor frame that looks black without flash can reveal background detail when flash is added. The useful principle for continuous lighting is the same: a test with the subject lights off cannot show what those lights will add. His flash exposure settings are not a recipe for video.
If a grey patch appears when you add one light, start with that light's path. Try angling it across the subject rather than towards the backdrop. A flag, an opaque panel used to block light, can shield the background. A compatible grid restricts the source's spread; Profoto explains how grids limit spill. Check that the narrower beam still covers the subject throughout the shot.
Use separation, not a fixed distance rule
Moving the subject away from the backdrop gives you more room to keep light off it. Depending on the lighting positions, it can also reduce the illumination reaching the background relative to the subject. There is no universal gap that makes black turn black: the source's position and size matter as well.
Light fall-off is the reduction in illumination as light spreads with distance from a source. Bringing a suitable light closer to the subject, then lowering its output to maintain the subject's exposure, can leave the more distant background darker. Westcott's fall-off explanation describes how distance affects both background tone and exposure across a group. A simple inverse-square calculation treats the light as a point source; large nearby modifiers and bounced light complicate exact predictions, as this discussion of real-world fall-off explains.
A close light has trade-offs. A performer moving towards and away from it may change brightness noticeably, and a group may need more even coverage than one seated contributor. In those cases, shaping the beam or blocking spill may be more useful. If there is no room for extra separation, try the light's angle and check for reflections from the backdrop.
Check exposure and the viewing look
Automatic exposure can brighten a frame dominated by dark tones. The camera's reflected-light meter may interpret the darkness as insufficient light rather than the intended scene. Canon's exposure-compensation guide explains this effect and why it varies with the metering mode. There is no single exposure correction for every black backdrop.
If brightness changes when you reframe, check for automatic adjustments, including Auto ISO. Set the exposure you want for the subject and hold it steady while comparing lights. When the face already looks right, work on the light reaching a grey patch behind it before lowering the whole frame's exposure.
Check how you are viewing log footage too. Log is an image encoding that carries information for later processing, rather than a finished viewing look. ARRI describes LogC images as flat and desaturated, with blacks and whites not extended to their maximum values. Use the appropriate display transform — the conversion from the camera's log format to the monitor's colour space and contrast — along with the intended creative look before judging the background.
A waveform monitor plots image signal levels, helping you compare the subject and background without relying only on the screen's apparent brightness. Find out whether it is measuring log or the picture after a viewing transform. Sony's S-Log3 exposure guidance shows how this depends on the camera and output settings. Use targets appropriate to that signal, rather than applying one black-level or skin-tone value to every setup.
Keep the subject's outline in view
When the background disappears, dark hair, a black jacket or a dark product may lose its outline. Subject separation means being able to distinguish the subject from what is behind it. A black backdrop can work perfectly while an important edge still needs attention.
A controlled side or back light can reveal that edge without deliberately brightening the whole background. Changing the key-light angle or wardrobe may be enough. For a silhouette, some lost edges may be exactly what you want; a bright rim is a creative choice, not a requirement.
Watch for flare when adding a back light. Stray light reaching the lens can lower contrast even when the backdrop remains dark. The School of Photography's lens-hood explanation shows this washed-out effect, including an angle where a hood does not fully shield the lens. If the picture develops a milky veil when the back light comes on, try shielding the lens without entering the frame, or repositioning the light.
Let the test frame guide the fix
Keep framing, camera exposure and the viewing look unchanged for a useful comparison. Once you have set the subject's exposure, switch the subject lights off, then add them one at a time. A background already visible with those lights off points towards remaining ambient light. A patch that appears with the key or fill points towards spill or bounce. A washed-out picture when the back light comes on is a reason to check for flare. Treat these as clues to test, not instant diagnoses.
Imagine a seated interview with the contributor wearing a black jacket. The face looks right, but a grey patch appears behind one shoulder when fill is added. Lowering camera exposure would darken the face too, so re-aiming or shielding the fill is the more targeted test. If the patch disappears but the jacket merges into the background, work on its outline next. This is an illustrative example, not a Big Wig Studios test result.
Test the shot you will actually use. A tight portrait may hide a floor reflection that appears in a wider frame. A performer who turns or moves may leave the coverage of a restricted light. A short recording with the intended movement is more useful than judging only a static preview.
Choose the black the film needs
Visible grey is not always a mistake. An apparently endless black background isolates the subject; a dark backdrop with some texture can give the scene a sense of place. Decide which suits the film before trying to remove every trace of the room.
A grade can deepen the background, but pushing all dark tones down together may also remove wanted detail from hair, clothing or a product. Review the test through the intended look. The aim is to let the background recede without losing the parts of the subject that matter.
For a shoot at Big Wig Studios in London, send a visual reference with your Blackout Film Studio enquiry. Include the framing and any subject movement. That gives a clearer starting point than asking for a black room alone.
Put it into practice
What to take from the test
- If the subject is correctly exposed but the backdrop lifts with a light, control that light's spill or bounce before darkening the whole image.
- Use separation where it helps, but judge it alongside the source position, framing and subject movement.
- View log through the appropriate display transform, and check which signal your exposure tools measure.
- Treat the background tone and the subject's outline as separate creative decisions.
Sources & further reading
- Glyn Dewis: The Invisible Black Background
- Profoto: Grids for controlling light spread
- PetaPixel: Practical limits of inverse-square predictions
- Canon: Exposure Compensation
- ARRI: LogC image encoding and display conversion
- Sony: How to Correctly Expose S-Log3
- The School of Photography: Camera Lens Hoods
- Westcott: Understanding the Inverse Square Law
Blackout Film Studio
Enquire with your black-background brief
Share the look you want, your framing and any movement so the enquiry can be discussed around the intended image.